Integration guide
Connect MIEA with Cliniko
To integrate your Cliniko account with the MIEA AI Assistant, you need to issue an API key, set up online booking, and enable online booking for your entities. The instructions may look long, but all the steps are simple and will take you no more than 15 minutes.
About 15 minutes · Cliniko administrator access required
Before you start
- Use an administrator account in Cliniko.
- Decide which businesses, practitioners, and appointment types should be bookable through MIEA.
- Have your MIEA contact ready to receive the API key securely.
Step 1
Issue an API key
The API key enables information exchange between your Cliniko account and the MIEA AI Assistant.
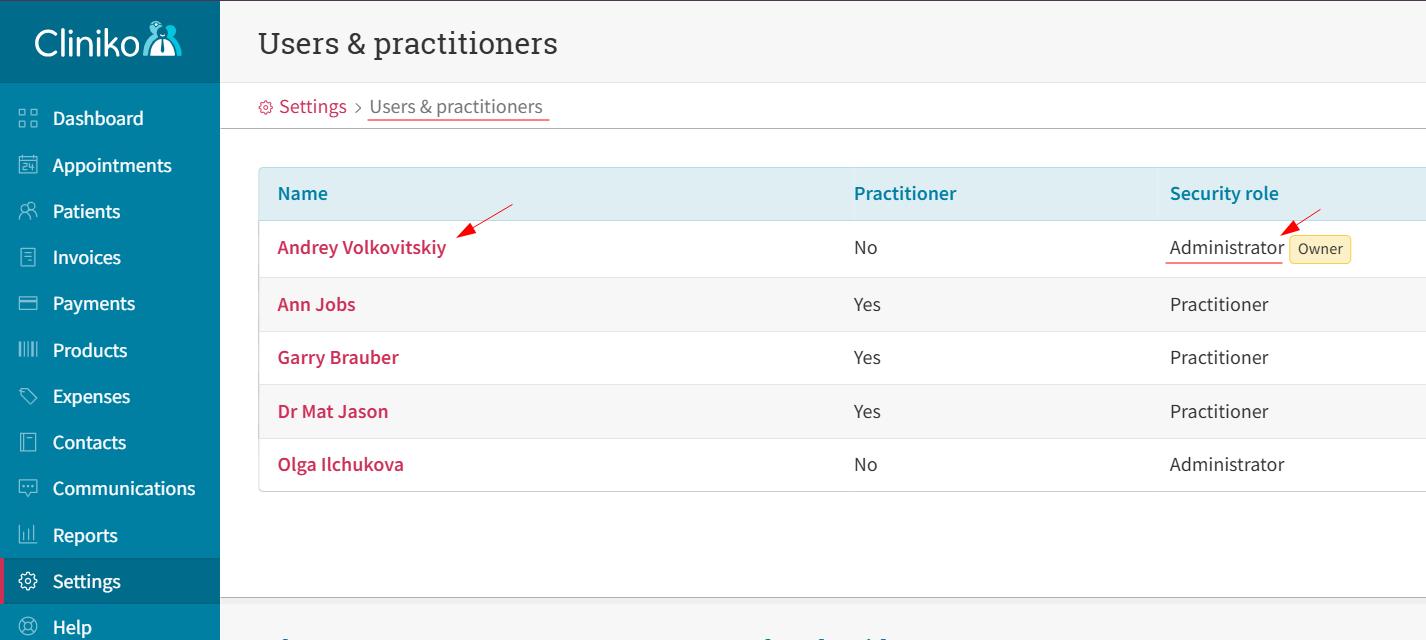
- 1 Log into Cliniko using an administrator account and go to Settings → Users & practitioners to make sure you are allowed to issue API keys. If you don't see "Settings" in the left menu, you're likely logged in as a Practitioner or Receptionist — log out and log in as an Administrator.
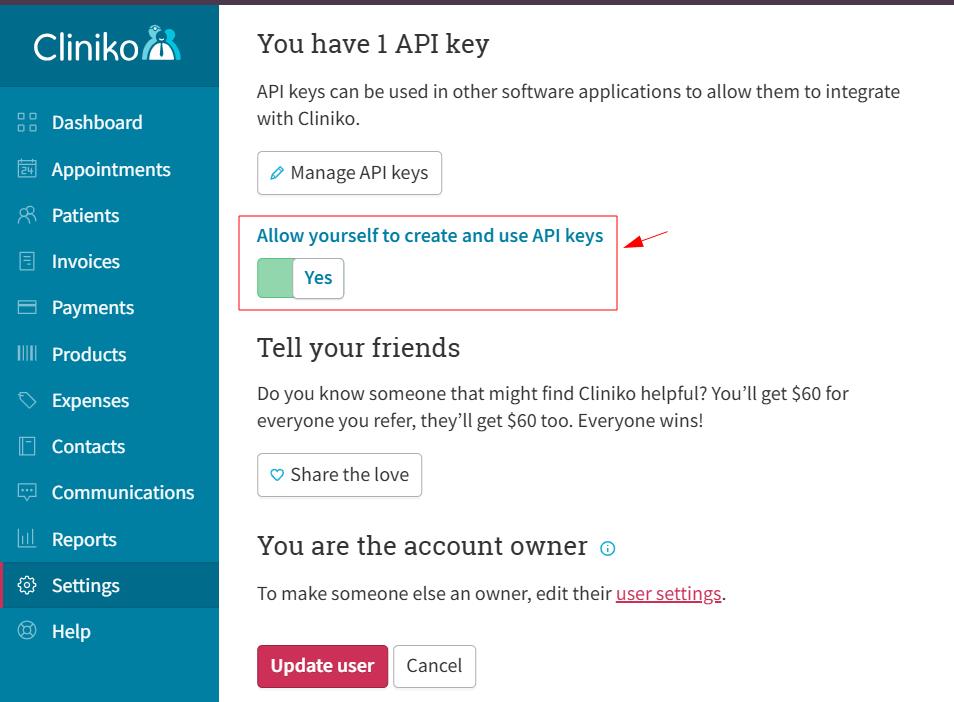
- 2 Click on your account, scroll to the very bottom of the page, and ensure the "Allow yourself to create and use API keys" toggle is set to "Yes." If not, turn it on and click "Update user."
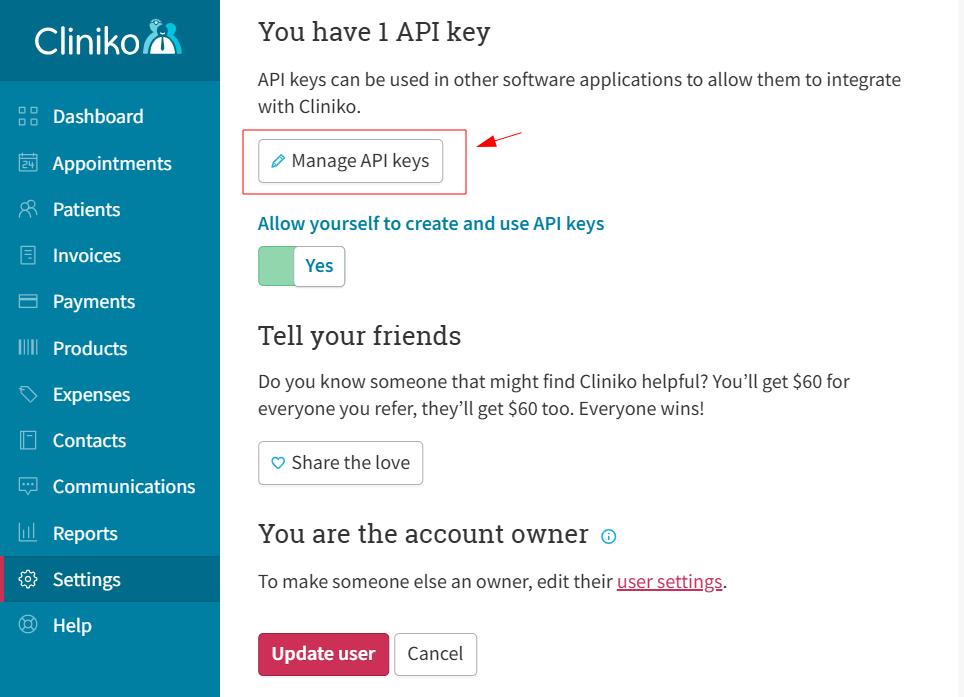
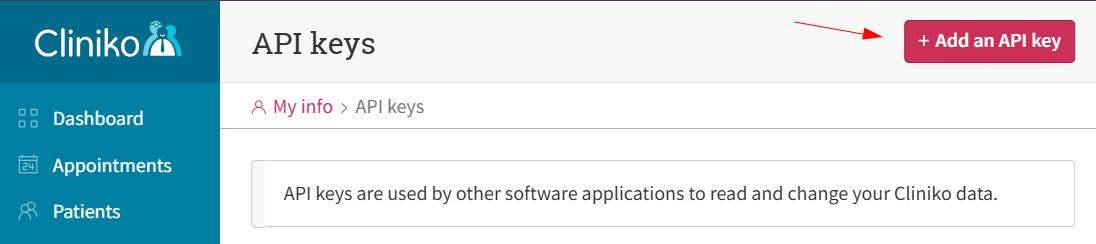
- 3 Proceed to "Manage API keys" and click "Add an API key."
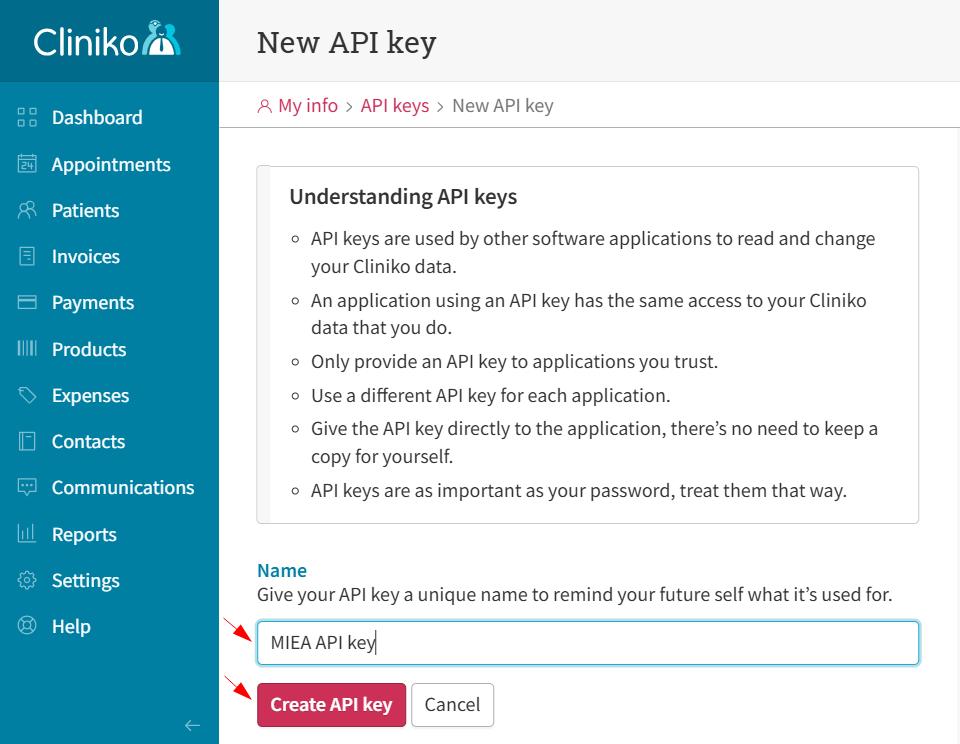
- 4 Enter any name (e.g. "MIEA API key") for the key and click "Create API key."
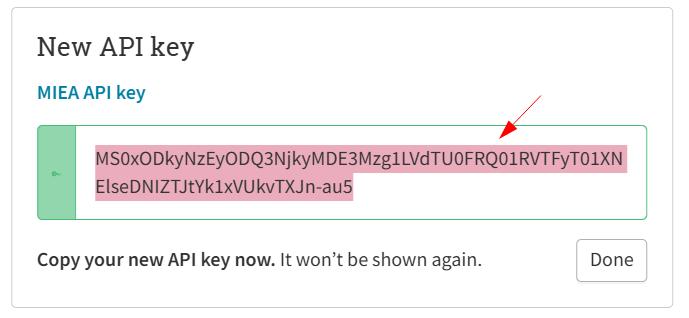
- 5 Once the API key is created, copy it and provide it to your MIEA Health representative.
Note: You have full control over the issued API key in your Cliniko account. You can archive it at any time — from this point on, the exchange of information with MIEA Health will fully stop.

Step 2
Set up online booking
The MIEA AI Assistant uses Cliniko online booking to provide patients with information about available time slots and to book appointments.
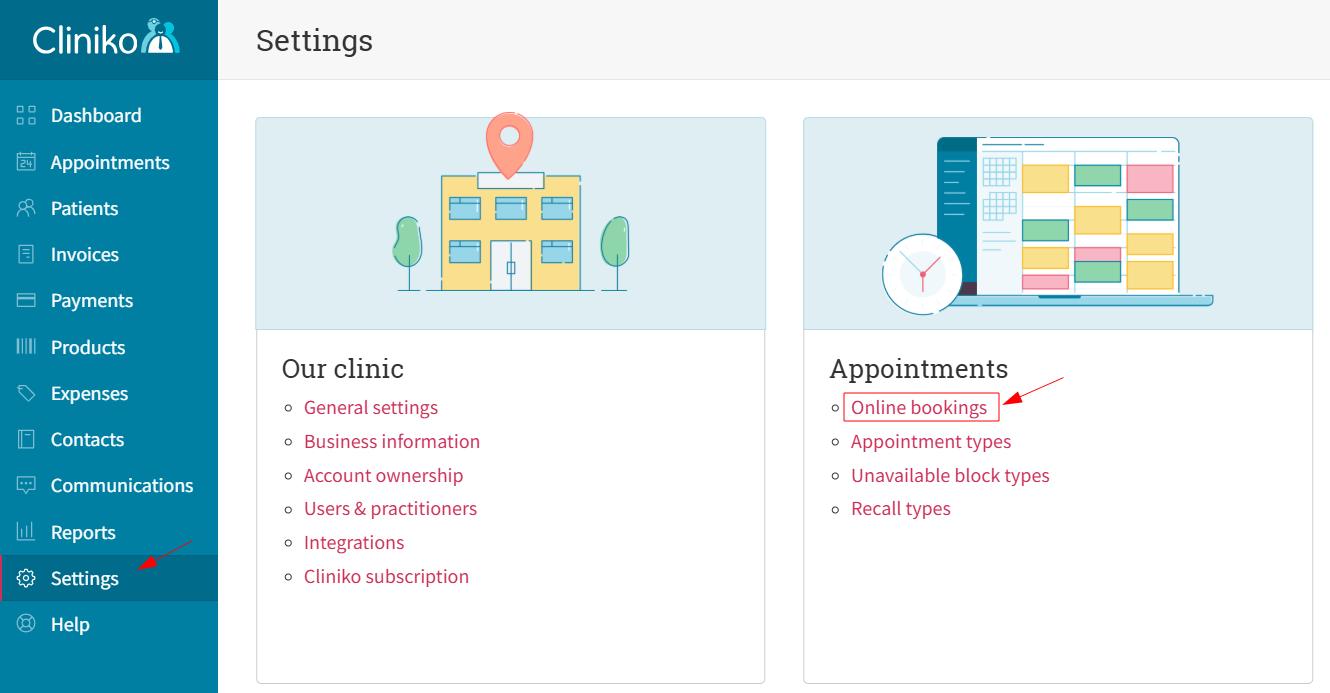
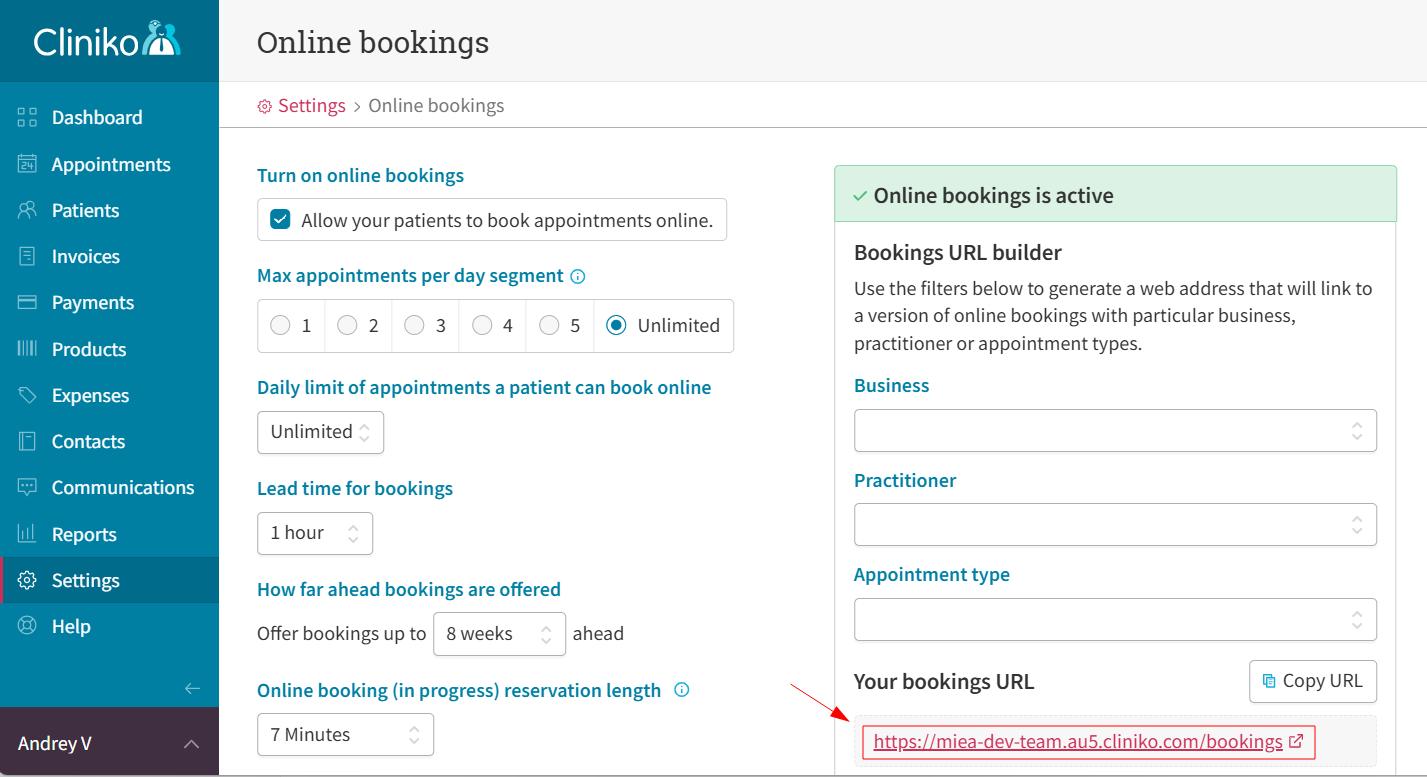
- 1 Go to Settings → Online bookings.
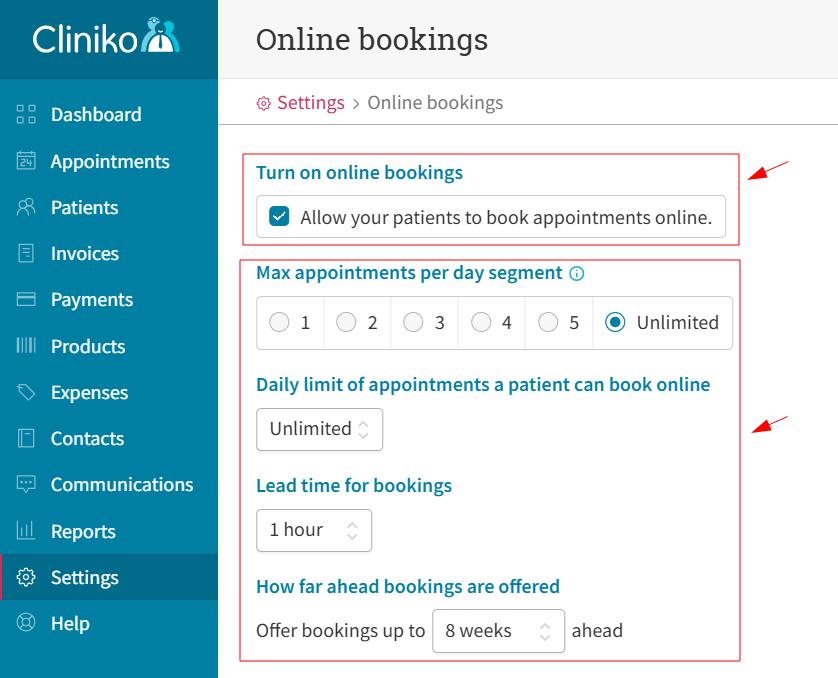
- 2 Turn on Online Bookings and configure them according to your business needs. Keep in mind that the stricter the rules you set, the fewer appointment slots will be available for patients to book via the MIEA assistant. The settings shown in the screenshot can be used as a safe starting point.
- 3 To see which time slots will be available to patients via the MIEA AI Assistant, open the "Your bookings URL" link.
Note: If time slots for a particular business, practitioner, or appointment type are unexpectedly unavailable, proceed to the next step of this guide.
Step 3
Enable online booking for entities
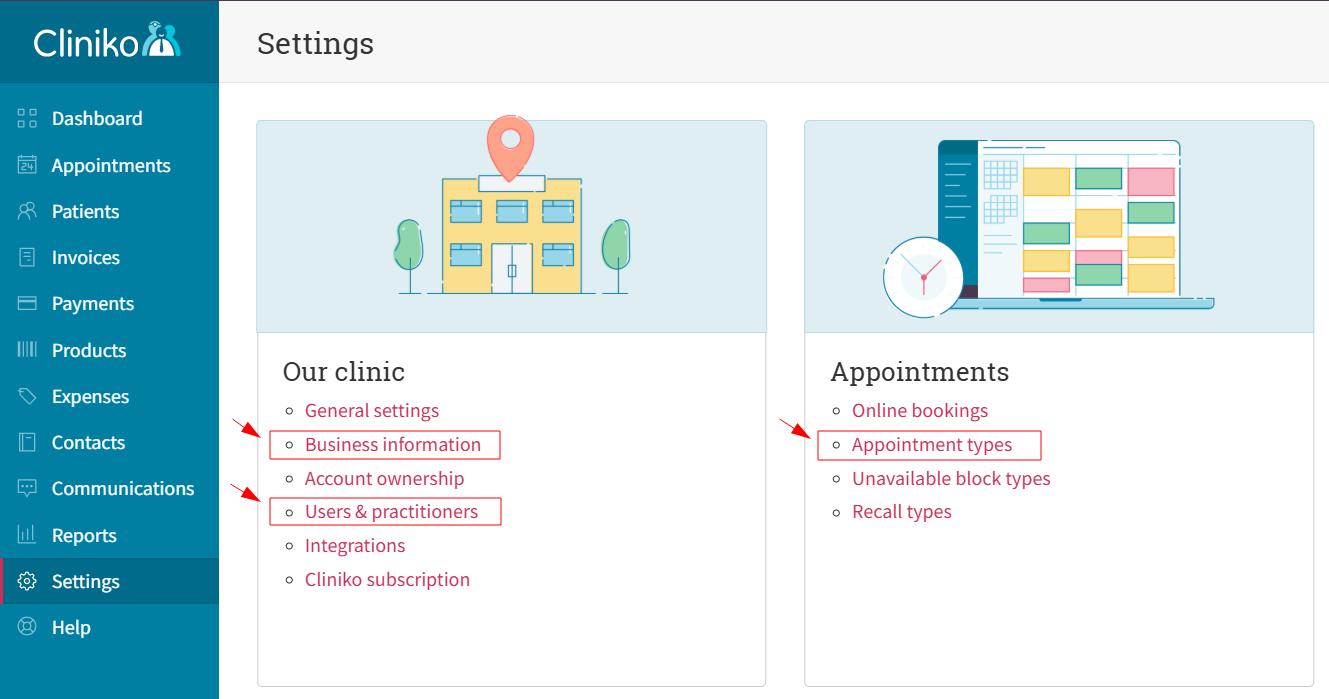
The Cliniko UI allows you to select which branches (businesses), practitioners, and appointment types are available for online booking — and therefore for bookings made via the MIEA AI Assistant.
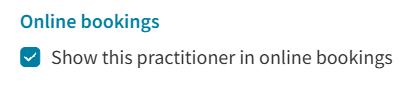
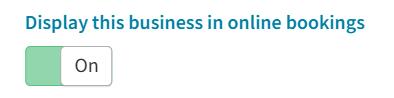
- 1 To enable or disable online bookings for a specific entity, visit the relevant settings section and switch the toggle on or off.
- 2 Set up a schedule for each practitioner in every business where they work.
- 3 Once everything is set up, double-check that the available time slots display as expected: Settings → Online Bookings → Your bookings URL.
Note: Screenshots on this page use sample names and clinic labels so they do not expose real account data.


Congratulations on making it to the end! Send the API key to your MIEA contact and we'll take care of the rest.